Rafay Platform
Stealthium integrates with the Rafay Platform. Follow these instructions to configure Stealthium as an add-on in your Rafay instance.
Setup has three stages: add the Stealthium Helm repository, create an add-on that points at it, and attach that add-on to a blueprint you apply to your clusters. Once the blueprint is applied, the Stealthium agent runs on every cluster that uses it.
Before you start, make sure you have two things:
- A repository login — your Stealthium representative provides the username and password for the Stealthium container registry.
- An API key — generate one by following Creating an API Key. The key is a plain UUID; you can list your keys or rotate one later from the same API.
You will also need a Rafay account with permission to create repositories, add-ons, and blueprints in your project.
Select the system-catalog project
From your home view select the system-catalog project. Stealthium can be added under other projects but may be restricted on what it can access in the system. This optional, but highly recommended.
Add the Helm Repository
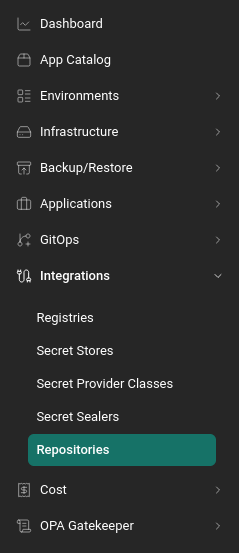
In your Rafay dashboard, select "Repositories" from the left-hand menu under Integrations:
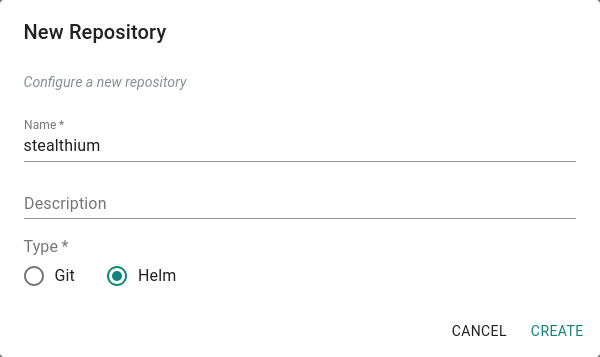
Add a new repository with the "New Repository" button, name it stealthium, and set its type to "Helm":
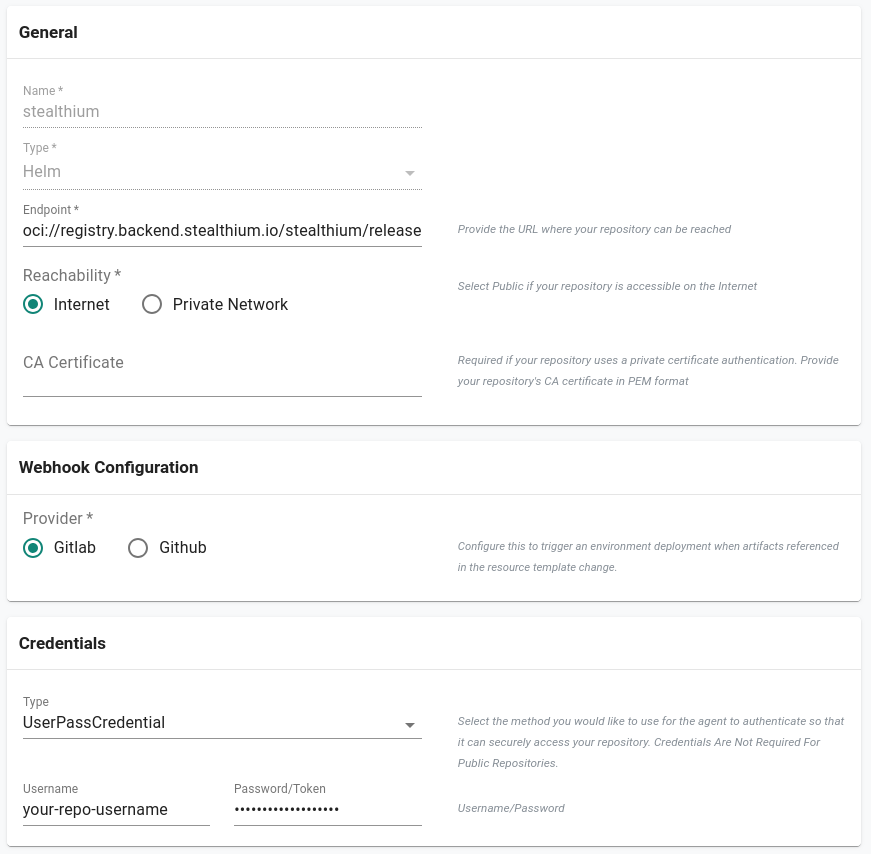
Then set the following values:
- Endpoint:
oci://registry.backend.stealthium.io/stealthium/release - Reachability:
Internet - Credentials Type:
UserPassCredential - Credentials username/password: the values provided by your Stealthium representative
Now validate the repository against the Rafay server using the "Validate Repository" button in the toolbar. Validation confirms that Rafay can reach the registry and that your credentials work — if it fails, recheck the endpoint and credentials before continuing:

Create the 'stealthium' namespace
In the left-hand menu, navigate to Namespaces under Infrastructure:
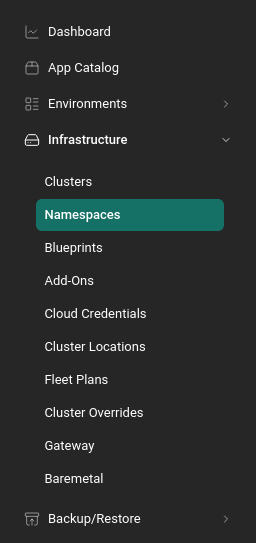
Create a new add-on using the "New Add-On" button on the right side of the screen:

Add the stealthium namespace using the following values:
- Name:
stealthium - Type:
Wizard
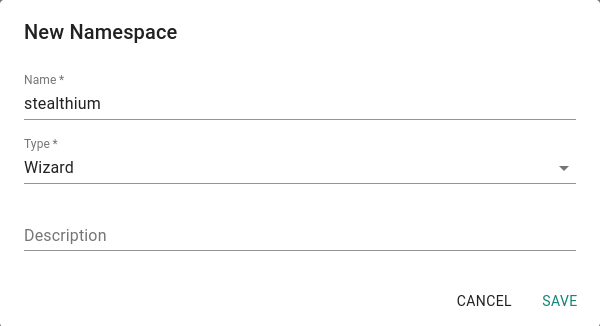
Create the Stealthium Add-On
In the left-hand menu, navigate to Add-Ons under Infrastructure:
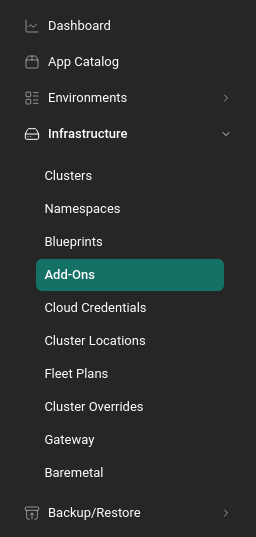
Create a new add-on using the "New Add-On" button on the right side of the screen:

Fill in the resulting dialog with the following options:
- Name:
Stealthium - Type:
Helm 3 - Artifact Sync:
Pull files from repository - Repository Type:
Helm - Namespace:
stealthium
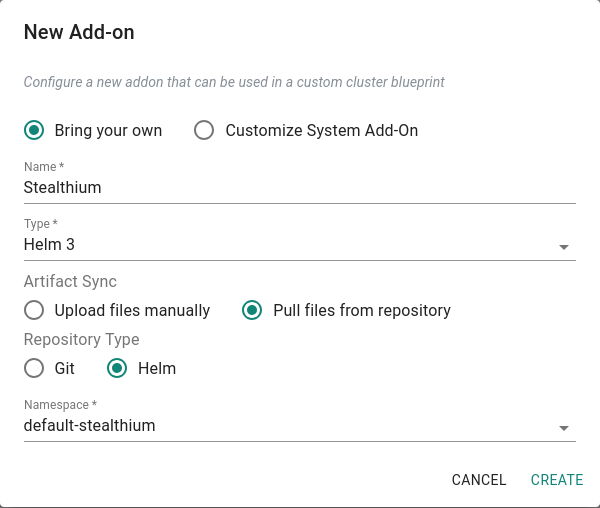
You then need to add a version of the add-on:
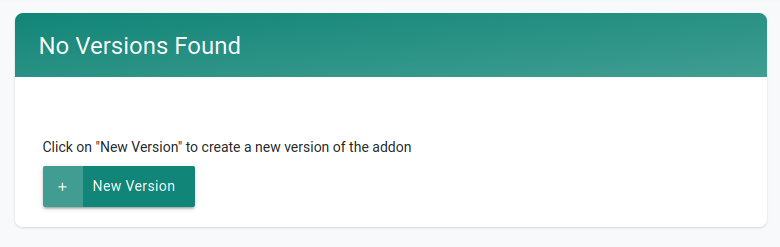
This is also where you upgrade. To move to a newer Stealthium agent, add another version here and then point your blueprint at it.
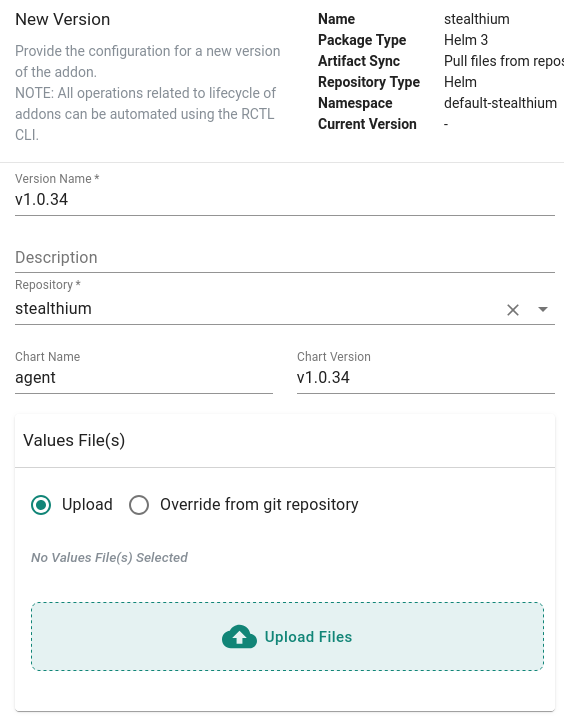
Fill out the new version dialog with the following values (substituting the current Stealthium release for <version>):
- Version Name:
v<version> - Repository:
stealthium - Chart Name:
stealthium-agent - Chart Version:
<version>
Note that chart versions carry no v prefix (e.g. 1.1.35) — only image tags do. The Version Name is a free-text label, so a v there is fine. To see the latest chart version, run helm show chart oci://registry.backend.stealthium.io/stealthium/release/stealthium-agent, or ask your Stealthium representative which version to choose.
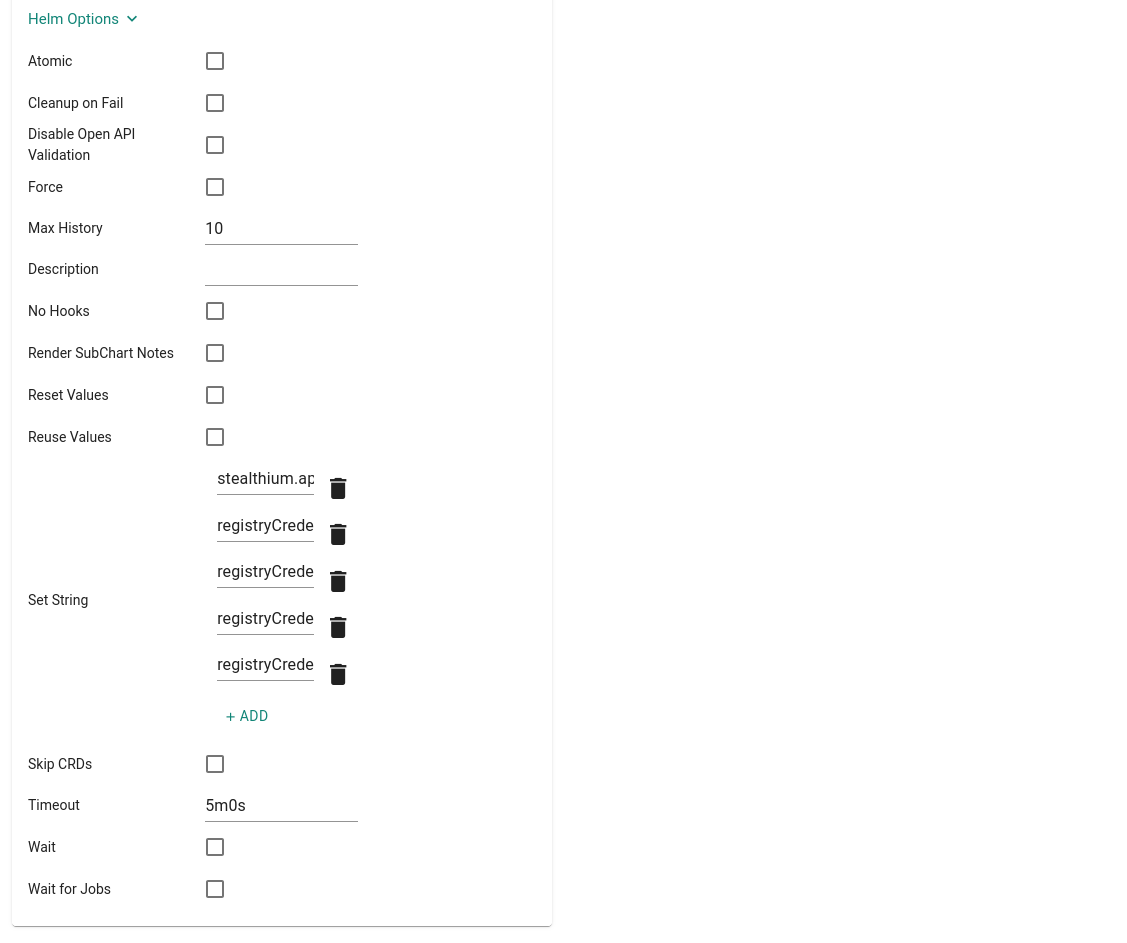
Further down the same dialog, expand "Helm Options" and add the following Set String entries:
stealthium.apiKey=<your-api-key>registryCredentials.registry=registry.backend.stealthium.ioregistryCredentials.create=trueregistryCredentials.username=<repository-username>registryCredentials.password=<repository-password>
Replace each <placeholder>, including the angle brackets, with the value you gathered above. Enter the values as plain text — Rafay stores the field contents verbatim, so do not wrap them in quotes.
Create the Stealthium Blueprint
Most clusters will have a blueprint and Stealthium should be just added to that blueprint. If you want to test Stealthium on a cluster you can create a blueprint using these directions. Adding Stealthium to an existing cluster shouldn't need this step.
You can now build a blueprint with the version you want to push out to your clusters. Go to the Blueprints pane using the left-hand menu under Infrastructure:
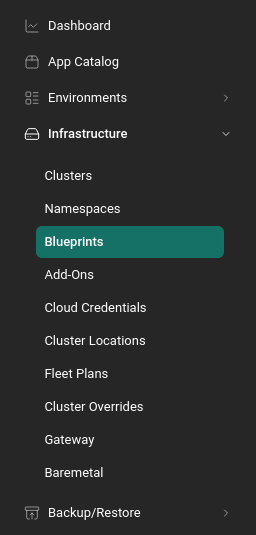
Create a new custom blueprint using the button on the right:
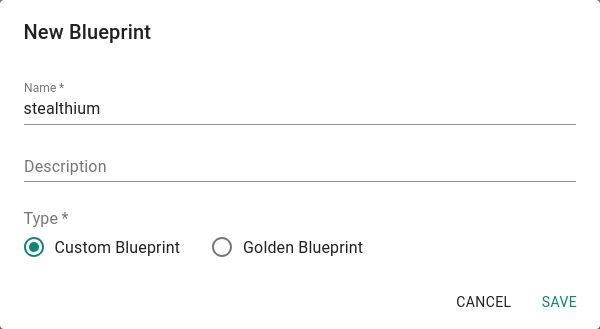
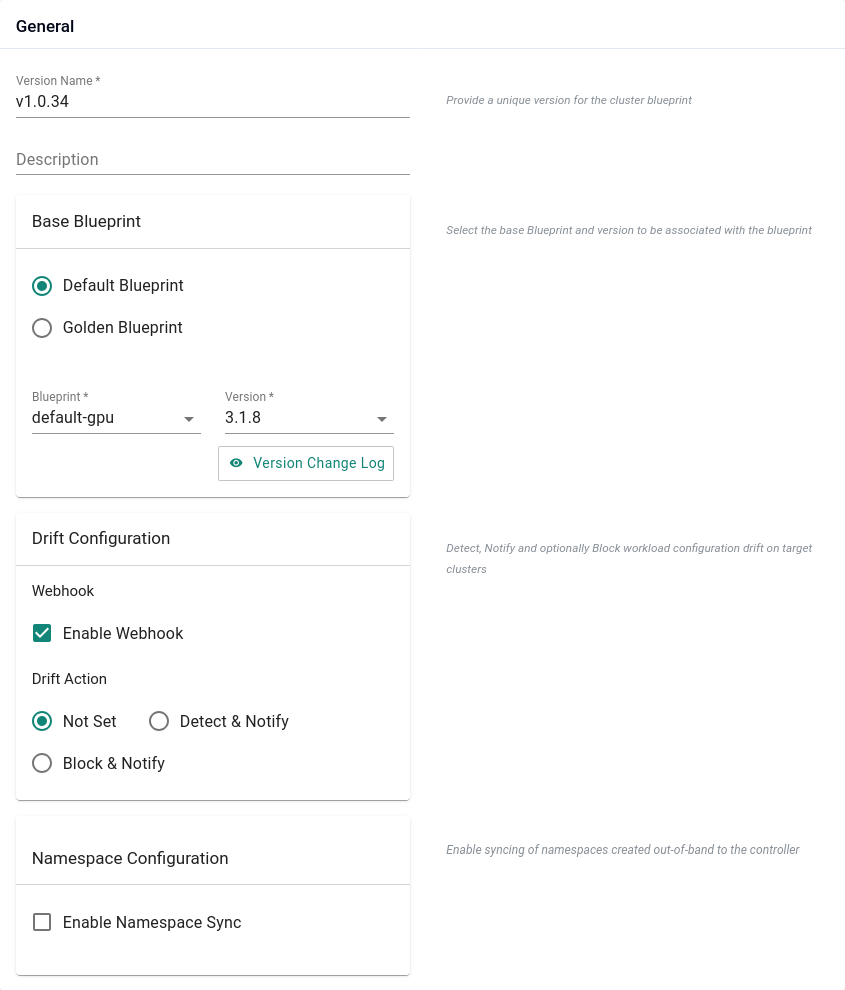
In your new blueprint, set the version name and select:
- Base Blueprint:
Default Blueprint - Blueprint:
default-gpu - Version: the base blueprint version you want to build on
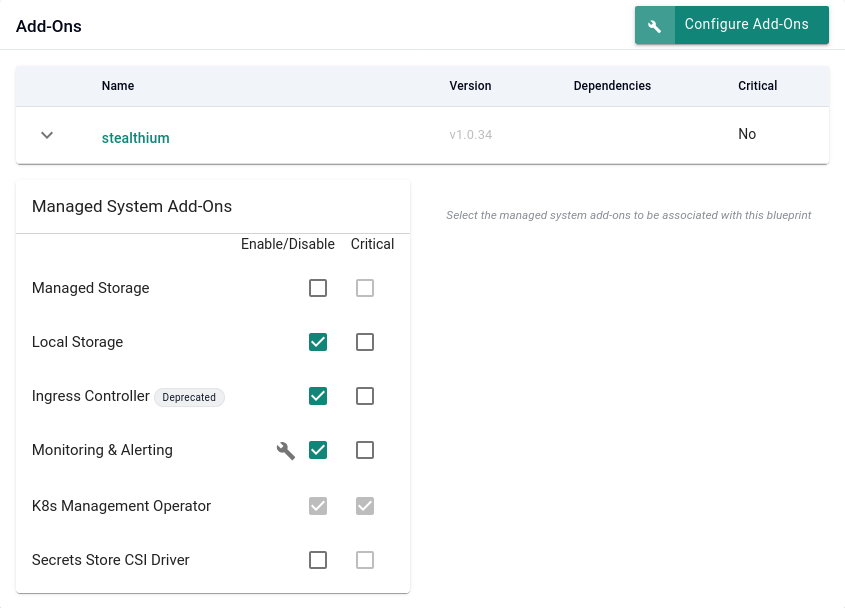
Continue down to the Add-Ons section, select "Configure Add-Ons", and add the Stealthium add-on:

It then shows in the list of add-ons for the blueprint:
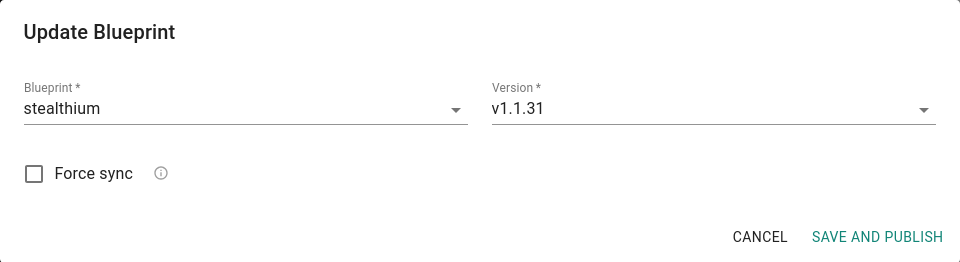
Apply the blueprint to your cluster using the "Update Blueprint" option on the gear menu of the Cluster information tab. Make sure you select the latest version of the blueprint: